I suppose its the same with any hobby/trade/profession; there are masses of terms that are used which insiders know, but which might as well be Chinese as far as newcomers are concerned.
There are some who revel in the use of them trying to bamboozle the newbie into thinking they know so much of the impenetrable jungle.
What I’m going to try and do is list some of the main ones and explain them in terms which a 5 year old could understand. This is not perhaps likely to be as helpful as possible as having seen my THREE year old grand daughter using an i-pad and compact camera, she’s probably way ahead of me but as I often think that technology should be sold with a 10 year old boy attached to explain it to me I’ll try and reverse the process.
OK so here goes:
First up we have three ways of controlling the exposure. What we term exposure is the total amount of light that is necessary for the image to be correctly exposed. That means neither too light nor too dark.
Those three ways are:
1) Size of aperture
2) Shutter speed
3) ISO rating
Taking them one at a time – the difficult one to explain first:
The aperture is the hole in the lens through which the light goes. Fairly obviously the bigger the hole the more light passes through. Unfortunately this is represented by numbers going the other way. The larger the number the smaller the hole. There is a reason for this and it does help to understand it so you understand what the camera is telling you.
These numbers are called F stops. The F standing for focal and the number is the relationship between the focal length of the lens and the diameter of the hole. (I’ll come back to focal lengths later- a whole separate can of worms.) If you have a lens with a focal length of 50mm and the hole in the lens is 25mm then the F number is 2 (50/25) shown normally as f2. if the lens has a focal length of 100mm and the hole is 50mm in diameter then again the F number is f2 (100/50) If your lens is 50mm and your camera’s is telling you the aperture is f11 then the size of the hole is about 4.5mm 50/11 and so on.
Now comes the confusing bit as to the odd numbers you see. In photography what we what to know is what adjustments we need to make to get the right exposure and the standard is that each stop will double (or halve) the amount of light falling on the sensor. (Stop really relates to the aperture size only but is used generally to denote a doubling or halving of the light getting to the sensor) So we need to know when we enlarge or decrease the size of the hole when it is going to do that. If we start at f2 then each stop smaller is f2.8 f4, f5.6, f8, f11, f16, f22. That is moving from one to the next will always half or double the exposure depending on which way you are going.
That’s the confusing bit isn’t it? Why aren’t they all the same difference? f2 f4 f8 f16 etc. Well its all to do with physics/mathematics. Take yourself back to school and those maths lessons that you so loved. If you want to do the maths be my guest but if you take the diameter of the aperture and apply pi -r squared (haven’t got mathematical symbols on my keyboard) you will find that the AREA of each of the holes is half that of the previous one, so its letting in half the light.
Matters are further confused by cameras theses days because you can increase them in half or even third stops so you will see figures like f3.5 f6.7, f9.5 but they are just intermediate stops. So if for example you needed to double the amount of light you are letting through and your camera tells you the aperture is f8 then you need to adjust it to ……da da. f?? Answer at the end.
OK, so the second adjustment we have is time or shutter speed. This is the length of time the shutter is open and allows light through the hole. Just like a shutter on a window but somewhat faster and the time is accurate. Again we need to have time split into segments that double/half the quantity of light going through the hole/aperture. So this one is fairly easy to understand. If we start at 1sec then 1/2, 1/4, 1/8 1/15, 1/30, 1/60, 1/125, 1/250, 1/500, 1/1000 Again in the digital era what the camera gives you is an even greater range usually going from 30seconds to 1/4000
So it’s fairly common sense to see that if we wish to double the amount of light going through and the camera is telling us its set at 1/125 we need to change it to?? da da…(answer at end)
Hopefully you are following me so far. You can probably see that we have an infinite choice of how we mix the two and still allow the same total light through to the sensor. For example if we take a shot at 1/250 using f11 we would get exactly the same exposure if we used 1/60 at f22. (2 speed settings slower and 2 aperture settings smaller) The reason why we might want to change either shutter speed or aperture I’ll leave until another time.
Now there is a third element we can control to adjust the final image although this one doesn’t change the amount of light going into the camera, it adjusts the sensitivity of the sensor to that light. Don’t ask me how it does it, go find that 10 year old boy I mentioned at the beginning. Suffice for us to know that it can be done. How? Simples. By adjusting the setting known as the ISO rating.Duh. The what?? If you tried to guess what ISO stood for and you though photographic thoughts you would be around a long while. The initials stand for International Standards Organisation and it is that organisation that sets the standard internationally for various matters including film speed from where we derive the sensor speed. What do the numbers mean? I haven’t a clue but who cares? All we need to know is that a doubling of the number represents one stop (there’s that term again) increase in speed. ISO in the camera usually start at 100 or 200 and keep doubling 200, 400, 800,….. up to massive 25600 and probably beyond. One point we have to consider when deciding on the ISO to use is that the faster the rating (bigger the number) the more noise we are going to get. Noise? Ye, thats the jangling of chains you hear every time you press the shutter! No idea why they called in noise. It’s what in the film days was referred to as grain, the little speckles that you would see in a photo where the lumps of silver had clubbed together to get you a faster emulsion. Noise comes in two types, (everything these days has to be more numerous than the old days doesn’t it?). But I’m not going into that here. If anyone is still with me I think thats quite enough to absorb at the moment. In future blogs I’ll come back and explain the relationship between all three and how to use them to improve your results. (If anyone’s interested)
In the meantime the answers: f5.6 and 1/60th
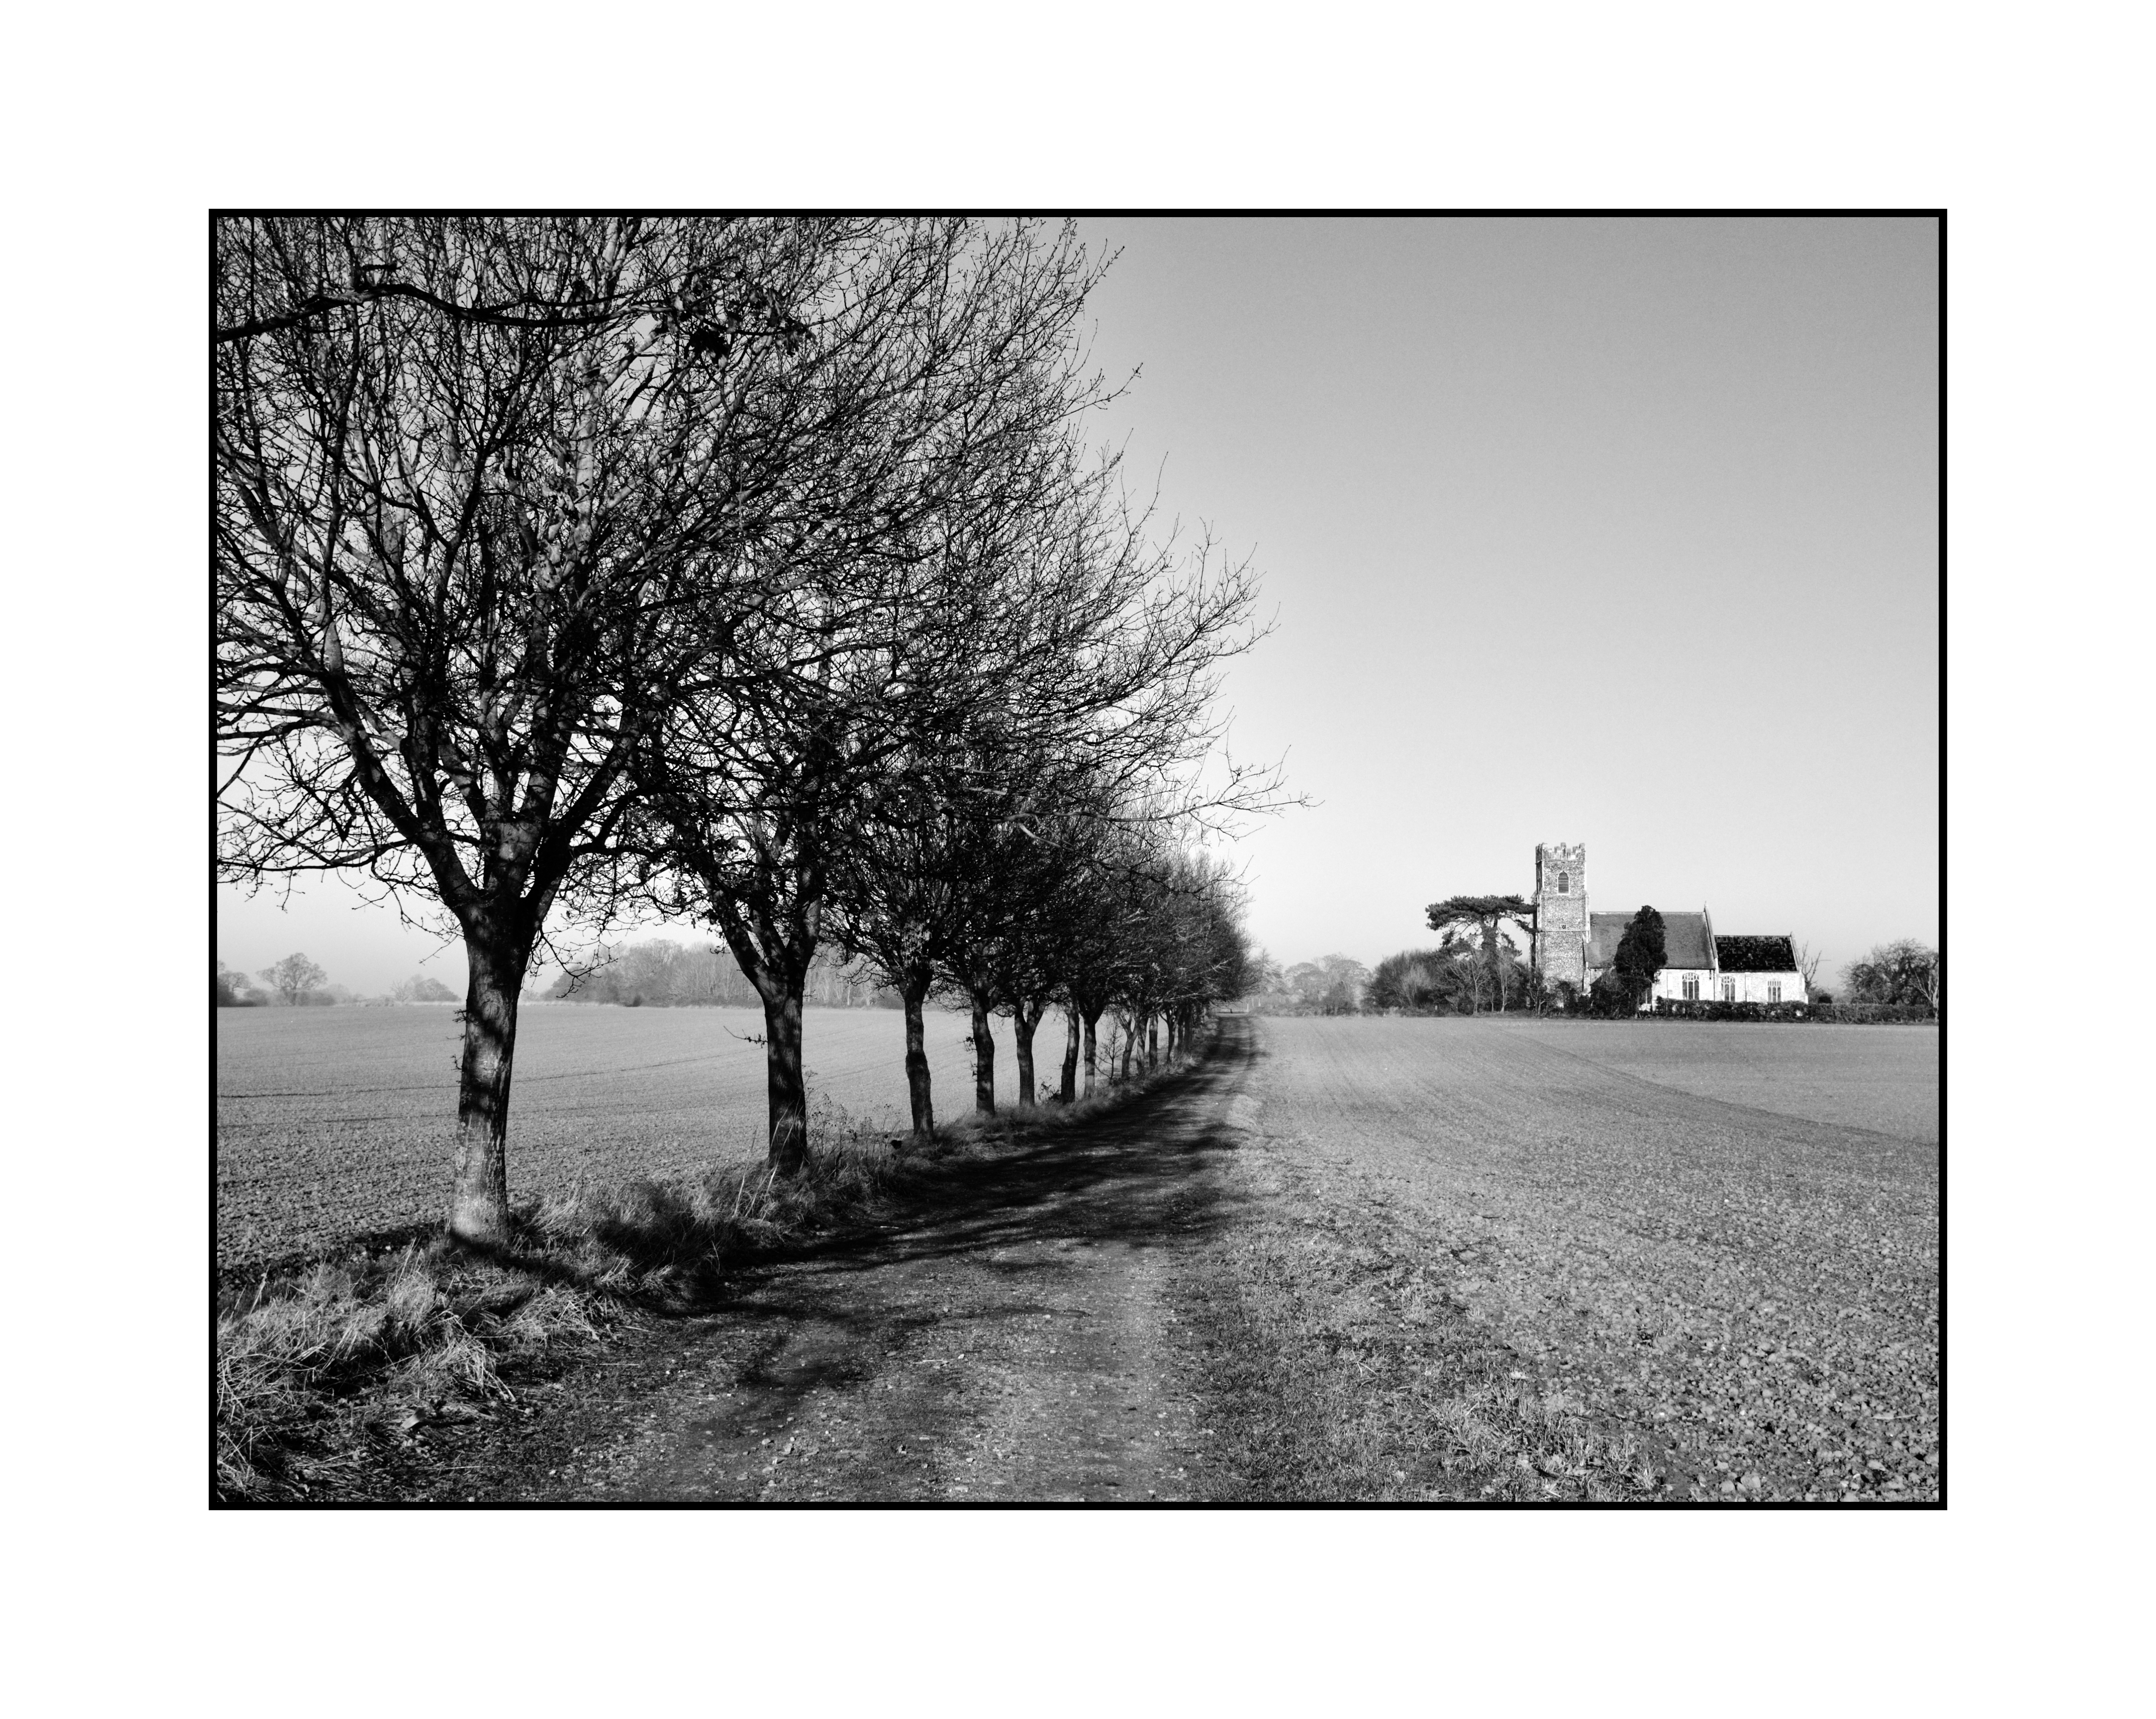
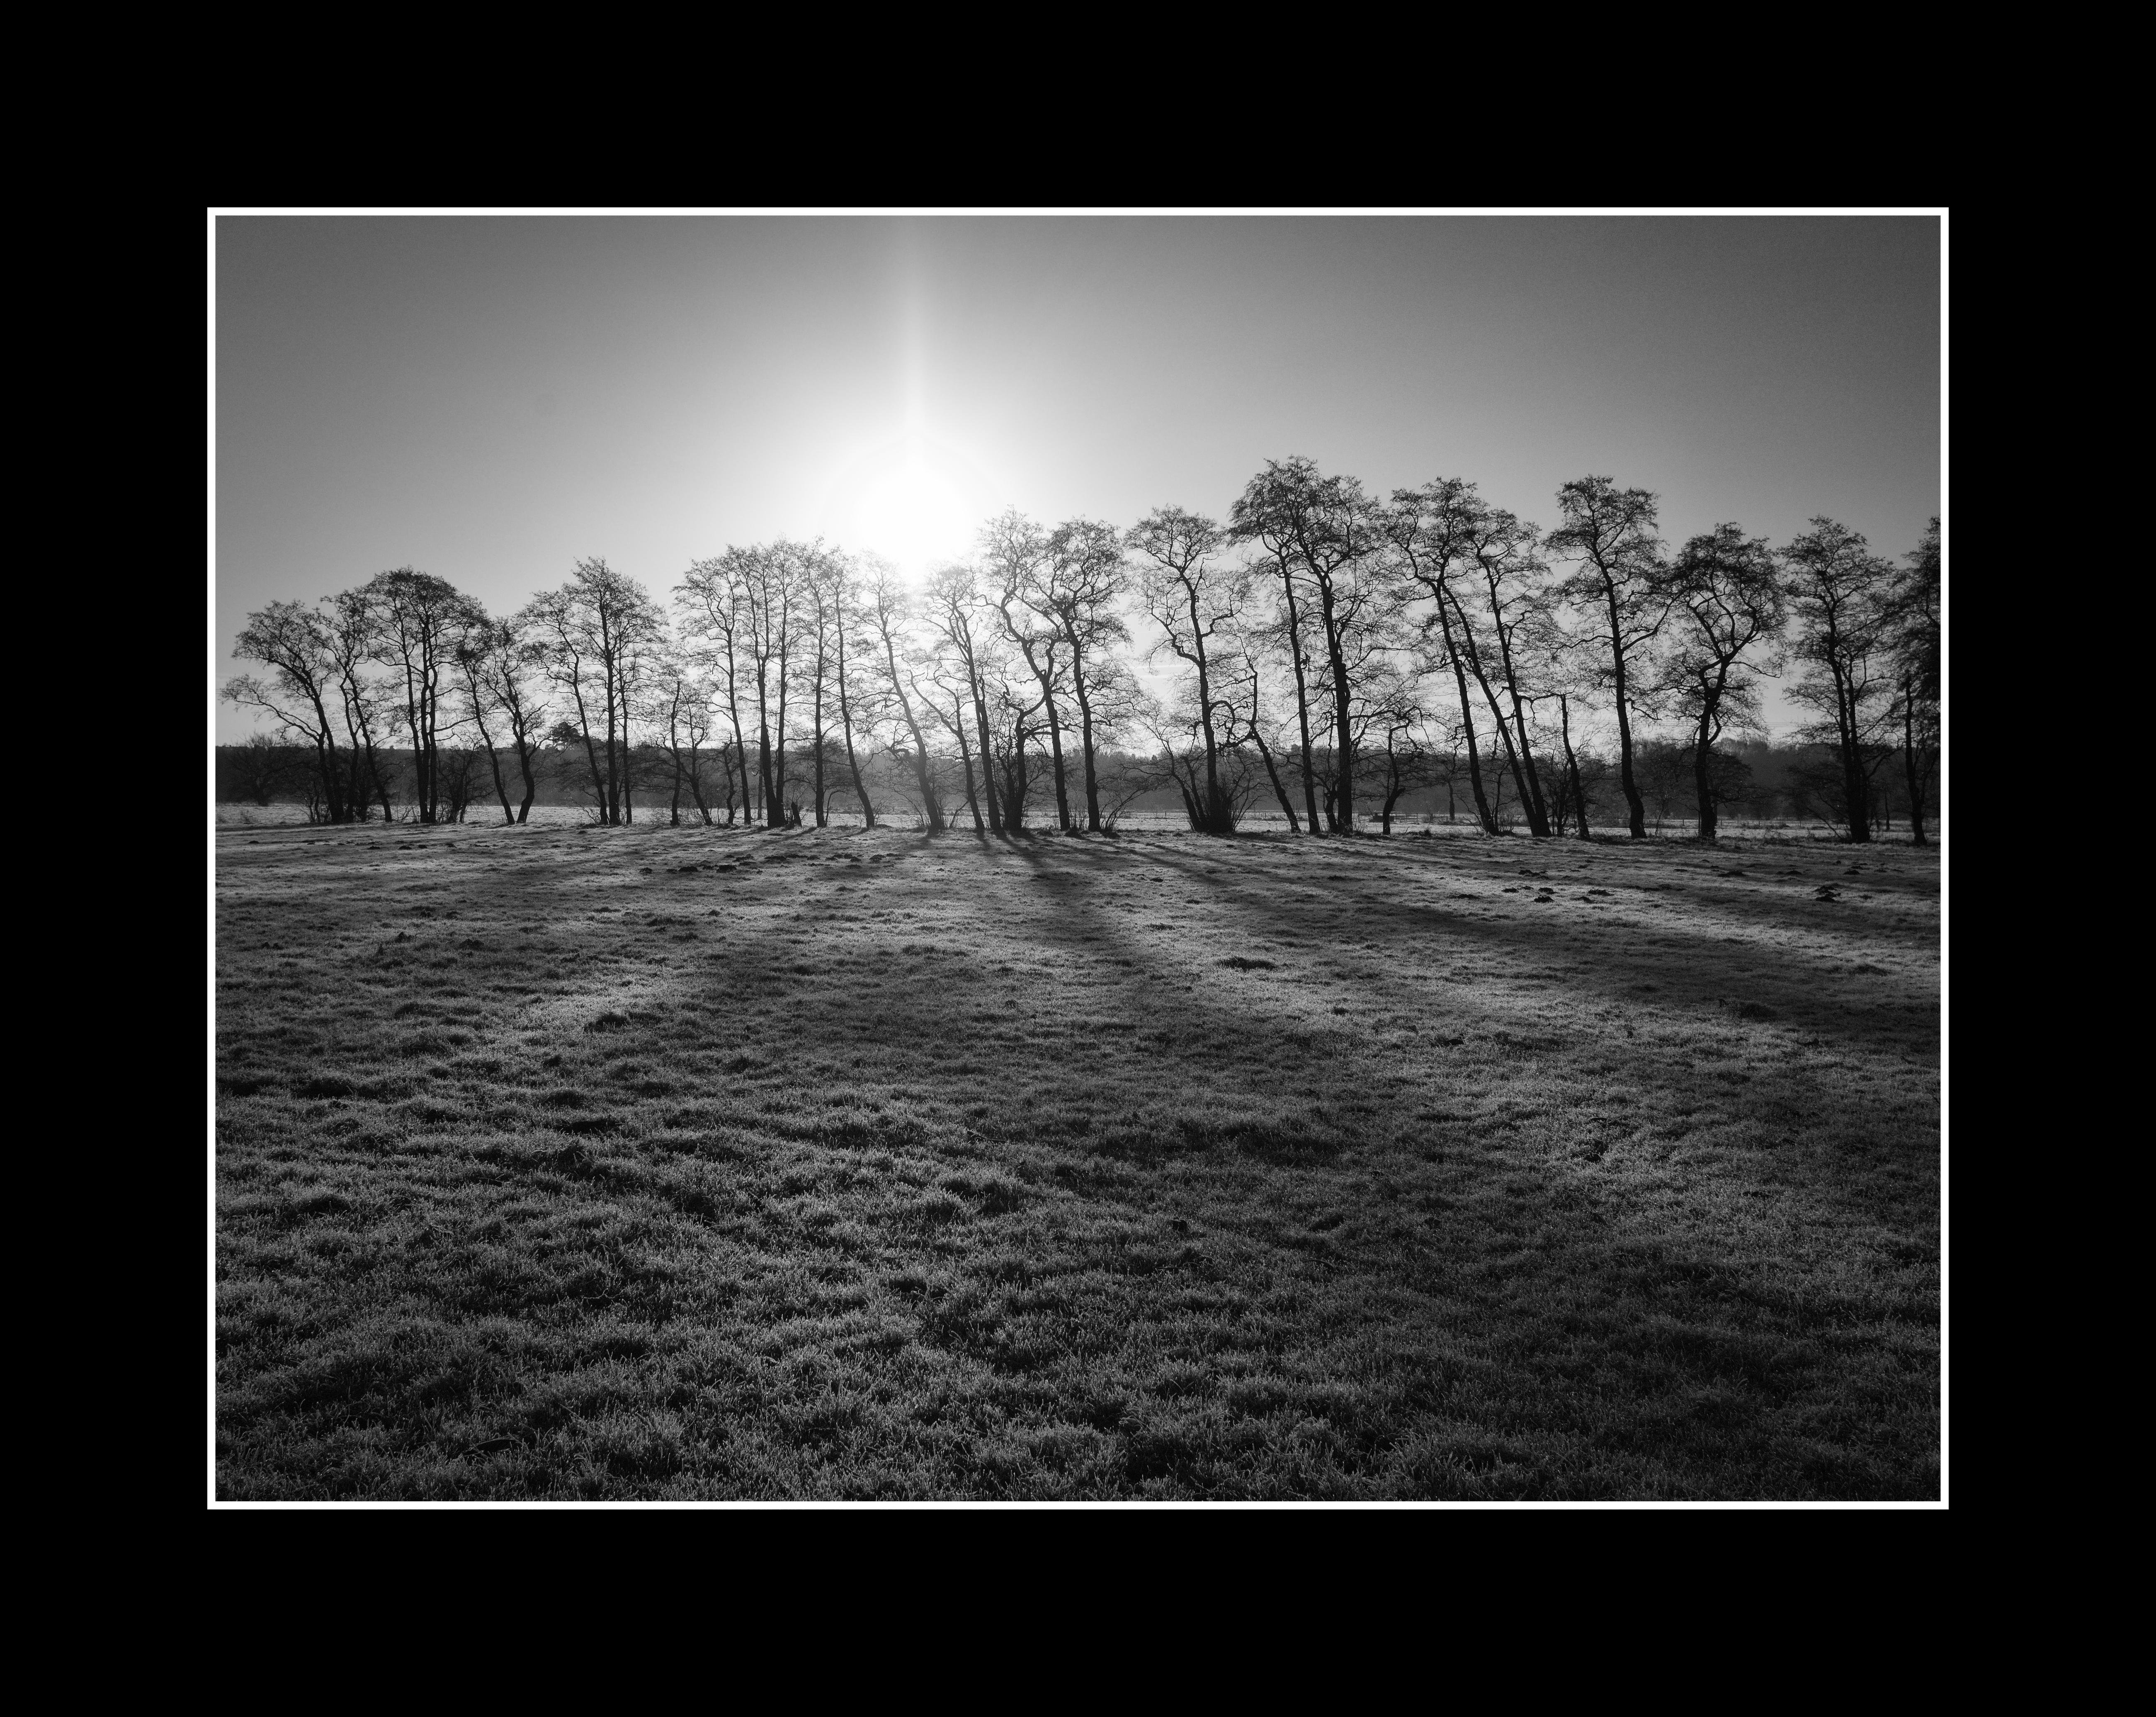
TO lighten the mood a bit here’s a couple of shots from the yesterday.